Export and sharing
This page covers three ways to get a view out of Genie: exporting an image, sharing a read-only link, and saving a genome view inside the project.
Exporting an image
In Genome mode, choose File → Export Image (also in the command palette). Genie renders the browser's tracks to a PNG file and downloads it. When the export finishes, a toast says "Genome browser image exported".
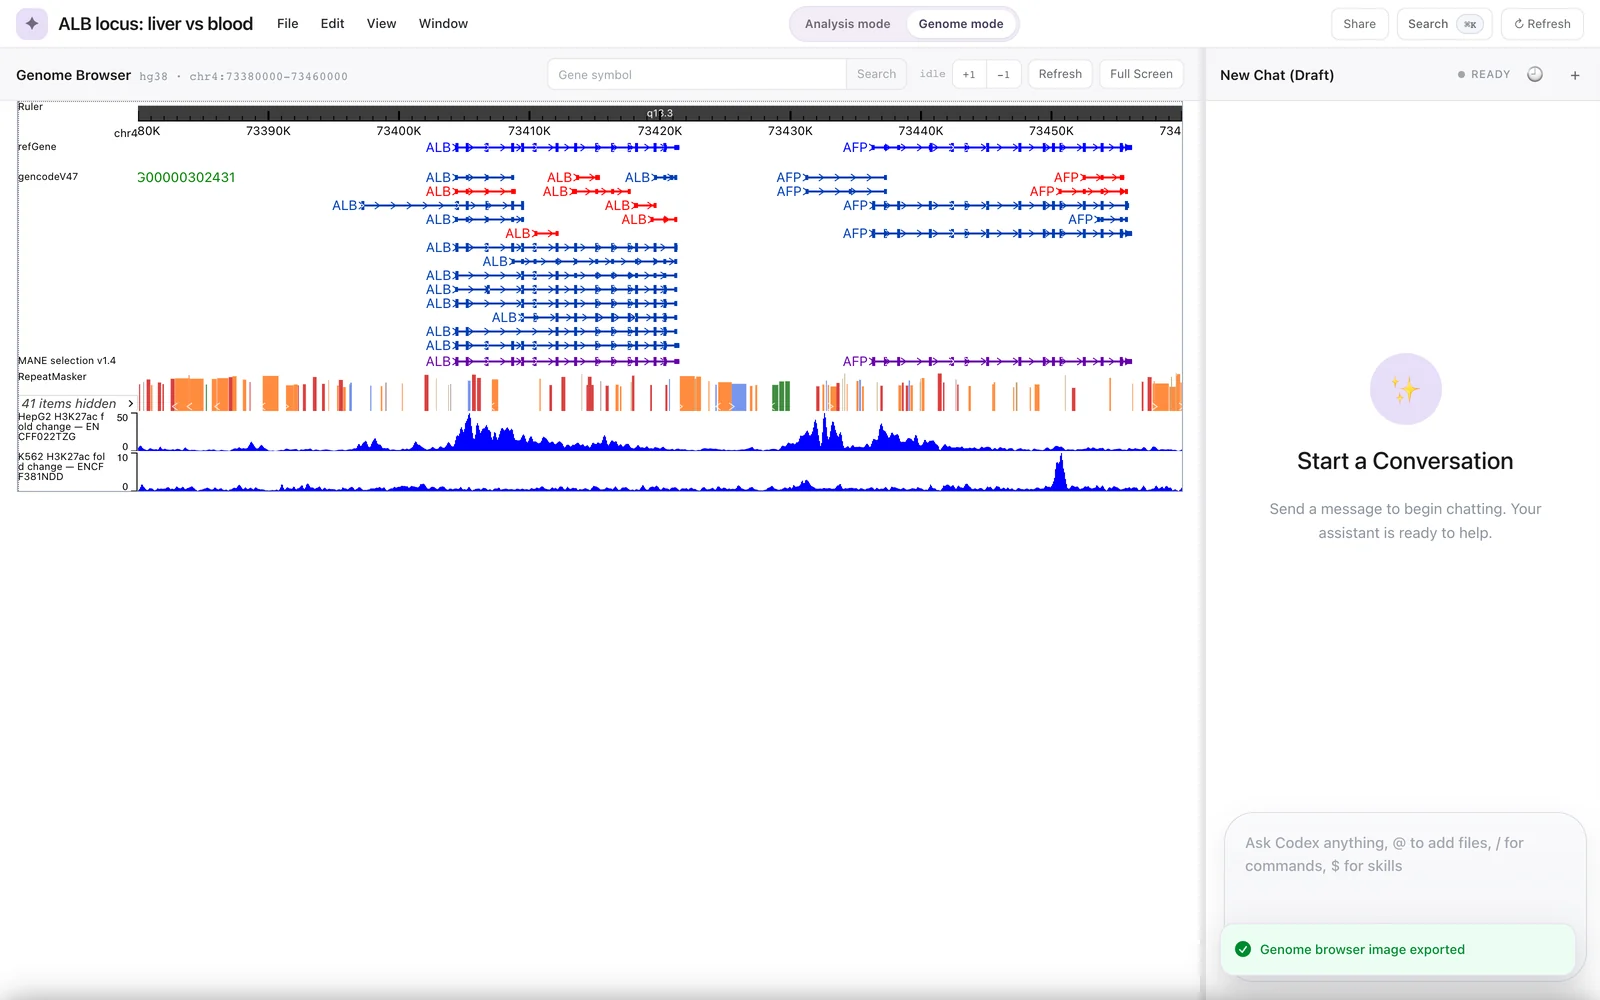 The confirmation toast after File → Export Image.
Details:
| Property | Value |
|---|---|
| Format | PNG only (no SVG or PDF export) |
| Background | White |
| Resolution | 2× the on-screen size (pixel ratio 2) |
| Size limits | At most 16,384 px on either side and 64 million pixels in total. If the 2× image would exceed either limit, the pixel ratio is lowered to fit. |
| Content | The full stack of tracks, including any part you would need to scroll to see |
| File name | genie-<genome>-<locus>.png, with characters other than letters, digits, ., _ and - replaced by -. For example, chr4:73380000-73460000 on hg38 gives genie-hg38-chr4-73380000-73460000.png. |
Notes:
- The menu item is greyed out until the browser has a region to draw, while the view is being dragged, and for a genome the engine cannot draw. While an export is running it reads Exporting Image… and is greyed out.
- If the Full Screen overlay is open, the overlay's browser is exported.
- Export Image is hidden in Analysis mode, because there is no browser on screen.
- The image is a picture of what is drawn. Tracks listed in the "not rendered by this engine" notice do not appear in it.
- If the export fails, an error toast says "Failed to export genome browser image".
Sharing a project
Click Share in the top bar to open the sharing dialog, titled Share “<project title>”.
The dialog has two sections:
- People with access lists you as the Project owner with the role Owner.
- General access has a drop-down with two choices:
- Private: "Only you and people you add can open this project."
- Anyone with the link: "Anyone with the link can view the genome browser." The role is fixed to Viewer.
When you choose Anyone with the link, a Share link field shows the link, which has the form https://<your Genie address>/shared/<shareId>. Click Copy link to copy it ("Link copied"). Click Done or press Esc to close the dialog. Choosing it shows the toast "Anyone with the link can now view this project." Switching back to Private turns the link off; a toast confirms "This project is now private." If you later choose Anyone with the link again, Genie creates a new link and the old one stays off.
What a viewer sees
Opening a share link shows the project's genome browser in a read-only page:
- The header shows the project title and a View only badge.
- The browser opens at the project's saved region with its saved tracks.
- The viewer can pan, zoom and search for genes, but nothing they do is saved to the project.
- The right-click track menu offers only Inspect track…, Copy track JSON and More information.
- The chat, assets and Analysis-mode outputs are not shown.
If the link has been turned off or replaced, the page shows "This shared project isn’t available" with "The link may have been removed or replaced by the project owner." and a Try again button.
Sharing needs the cloud project API
Share links are provided by Genie's cloud project API. The local backend used by the desktop build and the local web app does not provide the sharing endpoint, so in local mode the dialog shows:
Sharing settings could not be loaded.
with a Try again button. This is a current limitation, not a network problem. Sharing works when the app is pointed at the cloud project API (see Desktop and cloud and Configuration).
A share link lets anyone who has it view the project's genome browser and its track list, including the URLs of tracks loaded from external files. Switch the project back to Private when you no longer want it shared.
Saved genome views
A saved genome view stores a snapshot of the browser inside the project, so you can come back to it later. Saving and restoring happen in Analysis mode, in the Discovery Studio.
Saving a view
- Set up the browser as you want it in Genome mode.
- Switch to Analysis mode (Cmd+1) and open step 2 Create a plan with Genie.
- Under Generate, click Save Genome View ("Capture the current genome, locus, tracks, and hidden state.").
Genie saves a Studio output named Saved genome view - <region>, and a toast says "Saved genome view." The snapshot contains the genome, the view region, the full track list and which tracks are hidden. Saving a view does not use the assistant.
Finding and restoring a view
Saved views appear under Saved outputs; the Views filter shows only saved views. Select one and click Restore. Genie writes the snapshot back to the project's browser state, switches to Genome mode, and shows "Restored saved genome view."
A view can only be restored into a project with the same genome. Otherwise you see "This saved view uses a different genome. Create a new project with that genome to restore it."
Restoring replaces the current track list and position with the snapshot. Save the current view first if you want to keep it.
Other Studio outputs (reports, tables, figure drafts and so on) are described in Plans and outputs.